Red Hot Socks for Hotty Hubby
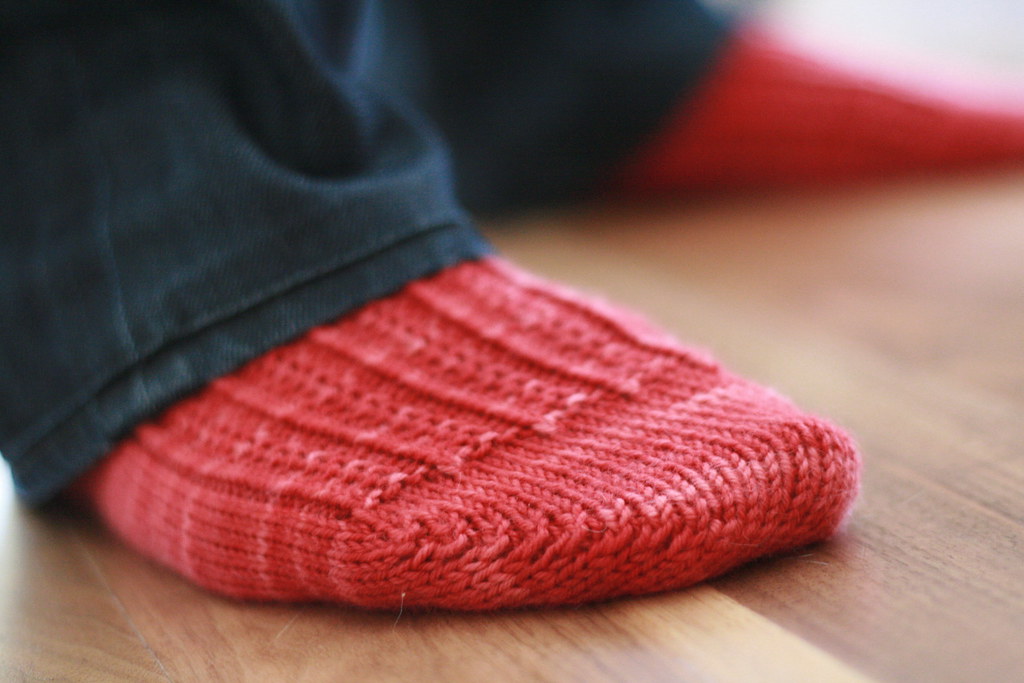
Secret knitting is really killing my blogging. Hey wait, that didn't stop me from posting to Flickr. Hmm. Ok, ok, I'm addicted to Flickr!
Hi, my name is Annie. I am addicted to my new camera and this website called Flickr. It is sucking every spare minute of my time, more than Ravelry, if you can believe it. I hardly have time to knit.
Hello! Snap back to reality! Must have time to knit. These socks may have taken longer than expected, but they did get finished. For Hotty Hubby's birthday (back in June) I wanted to give him a pair of red socks. I started them in May and I finished them in July but hey, I have a kid. And a Flickr addiction. He was surprised and he loves them. He wears them with his camouflage shorts with air conditioning blasting. It's sweet and a little funny looking.
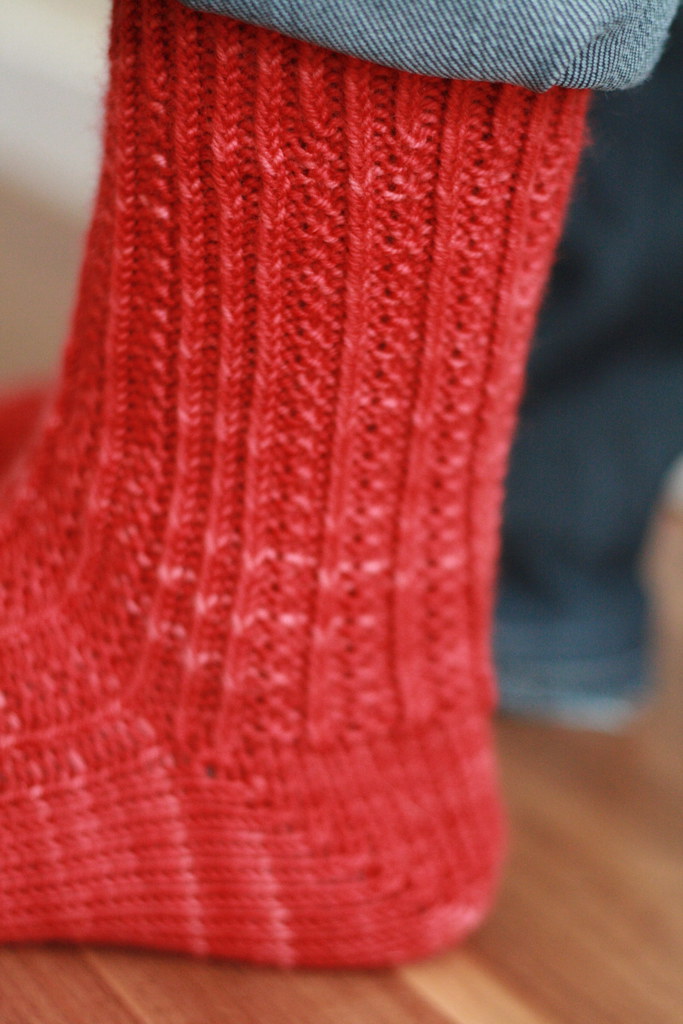
These socks are my own fudging using a stitch pattern from Charlene Schurch's More Sensational Socks. I knit them toe up with a short row heel to take advantage of as much yardage as possible. I still could have gone on for another inch or so, but 7" leg (including a 2" cuff) was my goal so I ended up with some scrap yarn. Yarn is Socks That Rock Heavyweight in colorway "Brick".
The stitch pattern is a 4 stitch repeat, but on both sides of the leg I purposely omitted the pattern and did a little ribbing instead. My husband has narrow ankles so I wanted to be certain that the socks would be snug around the ankle.
I did receive a request for the pattern, but since it is an adaption of a pattern already mapped out in Charlene's book, (and since I didn't take that great of notes) I will leave you with a guideline of what I did so that you can make these socks if you so desire. The stitch pattern is called "Decorative Ribbing" - page 87.
Red Hot Socks
Queue it!
STR Heavyweight - 1 skein
Size 4us circular needle (36" for magic loop)
Using the toe of your choice, (short row I what I used) cast on the appropriate number of stitches for the width of sock you want to make. Fudge the number to make sure it is divisible by 4.
After completing the toe, work stockinette on half the stitches (sole) and work the other half the stitches in the stitch pattern, making sure that you start and finish with a PURL stitch. This may mean that you have uneven number of stitches between needles 1 and 2, but that doesn't really matter as long as your total stitch count is appropriate for the size you are making and is divisible by 4.
Ok, take a moment now and just measure the toe before the stitch pattern starts. Mine is 2". Make a note of the length of the toe part of your sock. Knit the foot of the sock until you are less the length of your toe. In my case, the sock needed to be 10.5" long for the foot, so I knit (including the toe) for 8.5". At this point, continue with the sole stitches (the half of the stitches that are stockinette, borrow evenly from the other needle to make sure you have half the number of the total stitches) and work a short row heel.
Once heels are complete, continue in the round picking up stitches at the edges if necessary to fill in any holes from joining. (Take the next round to knit 2 tog or purl 2 tog as necessary to get back to your original stitch count.) Continue in the stitch pattern - keep in mind that since you have a stitch count divisible by 4, you should be able to continue with the stitch pattern all around quite nicely. You may not necessarily start a row on the beginning of a repeat per se, but it should work out. Fudge, it ain't just dessert.
I wanted the ankles to be snug, so fudging it a bit, (you get the theme here, right?) I started needle one and needle two omitting the stitch pattern in the first 4 stitches and just did a quick bit of twisted 1x1 ribbing to make sure the legs would be nice and snug around the ankles. It worked with the stitch pattern perfectly and you can see it in the photo above. You do not have to do this at all, but a neat little trick to keep those ankles from sagging should that be a concern.
Keep knitting until 1.5 to 2 inches less of desired length. Continue in 1x1 twisted rib. (Continue working the knit stitches through the back loop.) I wanted a 7" leg so I knit the stitch pattern for 5" and switched to rib for the last 2".
Cast off loosely (EZ sewn cast off is great) and wash, block and wear! Any questions or mistakes, please leave me a comment.
Now if you will excuse me, I have a lot of blog reading to catch up on. Yah, that suffered too. But I'm back! Miss me?
posted by Annie at 12:53 PM
19 comments